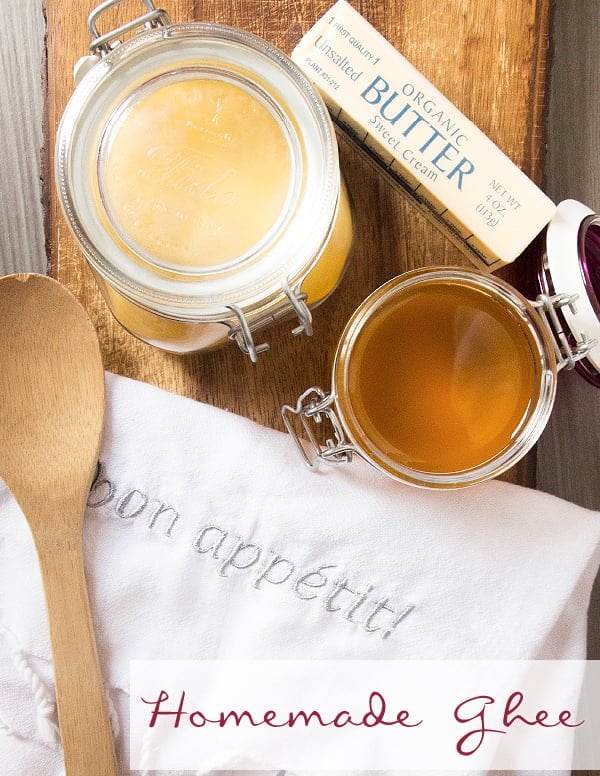
How to Make Ghee (clarified butter)
Ghee, or clarified butter, offers the flavor and health benefits of butter – without the casein and proteins that are often problematic to people who are sensitive to dairy.

The clarifying process heats the milk solids then skims them away from the fat, resulting in a delicious spread that combines oil’s very high smoke point and butter’s rich flavor.
Ghee is also rich in medium-chain fatty acids. Like carbohydrates, these fatty acids are absorbed directly into the liver and metabolized as energy. Studies show metabolism increases and no change in cholesterol for subjects who replaced butter with ghee.
Essentially, ghee is clarified butter with the milk solids and water removed, leaving behind pure butterfat. This makes it ideal for those with dairy sensitivities, as it’s free from casein and lactose while still retaining the delicious buttery flavor.
The Benefits of Ghee
Ghee has been revered for centuries, especially in Ayurvedic traditions, for its nourishing qualities. When made from high-quality, grass-fed butter, it’s an excellent source of fat-soluble vitamins like vitamin K2, which supports bone and dental health, and it’s also beneficial for skin, hair, and nails.
- Nutrient-Rich: Ghee is packed with medium-chain fatty acids, which are quickly metabolized by the liver and used as energy rather than being stored as fat.
- High Smoke Point: Unlike regular butter, ghee won’t burn easily, making it a great choice for high-heat cooking methods like stir-frying or sautéing.
- Shelf-Stable: Because the milk solids are removed, ghee doesn’t require refrigeration and stays fresh for weeks when stored in an airtight container at room temperature. This makes it perfect for traveling, camping, or keeping on your countertop for daily use.
What Does Ghee Taste Like?
Think of ghee as butter’s more flavorful, intensified cousin. It has a slightly nutty, caramelized flavor that works beautifully in both savory and sweet dishes. A little goes a long way in recipes, whether you’re drizzling it over roasted vegetables, spreading it on warm toast, or swirling it into your morning coffee.
How to Use Ghee
Ghee is a versatile ingredient that can replace butter or oil in most recipes:
- Cooking: Its high smoke point makes it ideal for stir-fries, wok cooking, and pan-searing.
- Baking: Use ghee in place of butter for a richer flavor in cookies, muffins, or pie crusts.
- Topping: Try it melted over popcorn, a baked sweet potato, or steamed veggies.
- Spreading: Ghee’s soft texture makes it easy to spread at room temperature—perfect for quick breakfasts or snacks.
Why Make Ghee at Home?
While ghee is widely available in health food stores and online, making it at home is surprisingly simple and much more cost-effective. Plus, homemade ghee offers unparalleled flavor, especially when made from high-quality, grass-fed butter.

Homemade Ghee
Equipment
- fine mesh strainer
- cheese cloth
Ingredients
- 2 lbs Grass-fed butter unsalted, organic
Instructions
- Slice butter into small, easily melted cubes.
- Place cheese cloth or fabric into the strainer and set it on (or near) large measuring cup.
- Place cubed butter into pan.
- Melt over medium heat, stirring occasionally to help evenly melt the butter.
- The butter will begin to separate and start to bubble (this is good). Give it a stir and reduce the heat to medium-low.
- The butter will begin to bubble more, increasing in size. The milk solids will start separating out, causing the butter to become clearer.
- Stir occasionally if you like, and it may be helpful to stir around the edges of the pan to keep the solids from sticking.
- Watch as the bubbles become clearer. They will nearly disappear as the milk solids sink to the bottom and filter out of the clarified butter above. Continue to stir and scrape the edges of the pan.
- At this point, the pan will begin to bubble once more, first larger bubbles and then smaller. When it comes to an almost frothy bubbling, remove the pan from the heat.
- Allow the pan to cool for just a few minutes and then pour through fabric-lined strainer.
- Pour into clean storage container.
