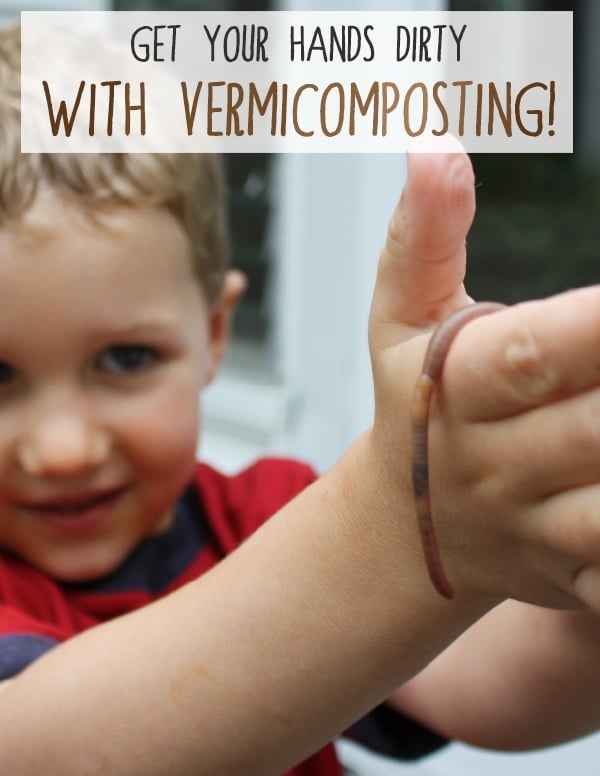
Vermicomposting: How to Compost With Worms
Our gardening enthusiast readers often ask questions how to compost with worms. Vermicomposting is an indoor, year-round method of composting that can be easily set up in a plastic or wooden container.
Food waste such as fruits and vegetables are placed into the bin along with worms and shredded paper. As the worms eat and digest the food and paper in the bin, they will begin to produce vermicompost that can then be spread in your garden.
Red Wigglers are a great species of worm to use for vermicompost bins because they not only live in the upper portion of top soil, they also consume a lot of organic material and reproduce many worms in a short amount of time, creating worm castings (worm excrement) along the way!
How to Compost with Worms
Building your own vermicomposting bin is a fun, easy activity for the entire family, especially when you follow these step-by-step directions.
- Prepare the Ventilation and Drainage:
- Using a 3/16″ drill bit, drill a row of holes along the top edge of a 10-gallon storage bin, spaced about 2–3 inches apart for proper airflow.
- Drill a row of holes along the bottom of the same bin to allow drainage of excess moisture.
- Drill 5-10 holes in one of the bin lids to help with ventilation.
- Set Up the Collection Bin:
- Take a second, identical bin (without holes) to serve as the collection base.
- Place several rocks, a few bricks, or empty aluminum cans in the bottom to create space between the two bins. This helps prop up the bin with holes, allowing excess moisture (also called “worm tea”) to drain into the bottom bin.
- Assemble the Composting Bin:
- Place the bin with the drilled holes on top of the rocks/bricks in the second bin.
- Fill the composting bin with a few inches of soil or coconut coir, then add shredded paper or cardboard as bedding for the worms. The bedding should be moist but not soggy.
- Place a small amount of food scraps (like vegetable peels or fruit scraps) in the center of the bin.
- Moisten the Bedding:
- Using a spray bottle, spray the shredded paper and soil to dampen it. The bedding should feel like a wrung-out sponge—moist but not overly wet.
- Cover the Food:
- Always cover food scraps completely with shredded paper or bedding. This is crucial to prevent fruit flies, odors, and other pests.
- Introduce the Worms:
- Add your worms (Red Wigglers are best; avoid using Night Crawlers or other larger worms). Spread them gently across the bedding. The worms will naturally burrow into the bedding after a few minutes.
- Leave the lid off for a short time, until all the worms have burrowed into the bedding, then place the ventilated lid on top.
- Maintain Moisture:
- Check the moisture level regularly, spraying the bedding with water if it becomes too dry. Keep it consistently moist, but not soaking wet.
Check the bin every few days and add paper and water slowly as needed and add food sparingly. Food scraps can be added every few weeks.
Related: How to Make an Outdoor Compost Pile
Food Scraps to Include in Vermicomposting Bins
Here are some of the best foods to include with worm composting.
banana peels
apple cores
vegetable scraps
egg shells
plain pasta
bread
coffee grounds (paper filter too)
teabags (no teabags made with plastic)
Food Scraps to Avoid in Vermicomposting Bins
And these are the food items you shouldn’t feed to your composting worms.
citrus and citrus peels (oranges and lemons)
onions
potatoes
meat
milk
fats/oil
baked items
junk food
Your worms are off to a great start. Please remember the following to make sure they stay healthy and happy. A worm will eat its own body weight in food each day, so it’s important to make sure you are not adding food too rapidly.
Keep in mind that a worm’s skin is very sensitive, so it’s best not to use hand sanitizer before handling the worms.
Happy vermicomposting!

